
Homemade Classic Shortcrust Pie Crust Recipe
Introduction
This classic pie crust recipe produces a tender, flaky shortcrust pastry perfect for both sweet and savory pies. With simple ingredients and straightforward steps, it’s a reliable base to showcase your favorite fillings.
Ingredients
- 1 1/4 cups plain (all-purpose) flour
- 2 tsp white sugar (skip if making a savory pie)
- 1/2 tsp salt
- 115g (8 tbsp) unsalted butter, cold, cut into 1cm (1/3″) cubes
- 2 1/2 tbsp ice cold water (+ more if needed)
Instructions
- Step 1: Place flour, sugar, and salt in a food processor. Pulse twice to combine evenly.
- Step 2: Scatter the cold butter cubes over the flour mixture. Pulse 5 times until the largest pieces are about the size of chickpeas.
- Step 3: With the motor running on low, slowly pour in 2 1/2 tablespoons of ice cold water through the feed tube.
- Step 4: Continue pulsating for 10 seconds until the mixture forms crumbs that stick when pinched between fingers.
- Step 5 (Alternative): To make by hand, whisk flour, sugar, and salt in a large bowl. Rub butter into the flour with fingertips until crumbly, then mix in cold water with a rubber spatula.
- Step 6: Turn the crumbly dough onto a work surface. Bring it together gently into a dome shape without kneading, then pat into a 2cm (4/5″) thick disc.
- Step 7: Wrap the disc tightly in cling wrap and refrigerate for at least 1 hour, up to 2 days. For longer storage, freeze.
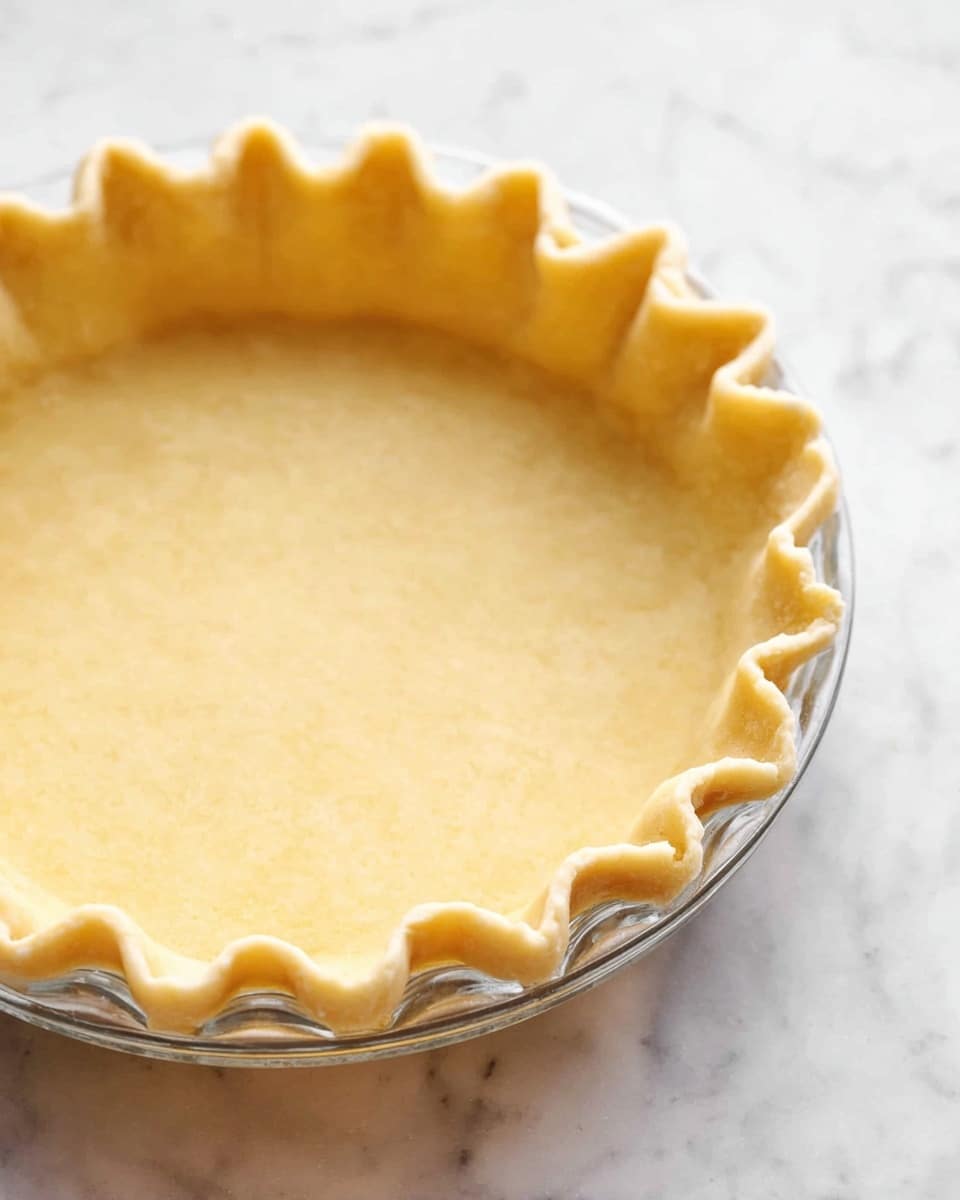
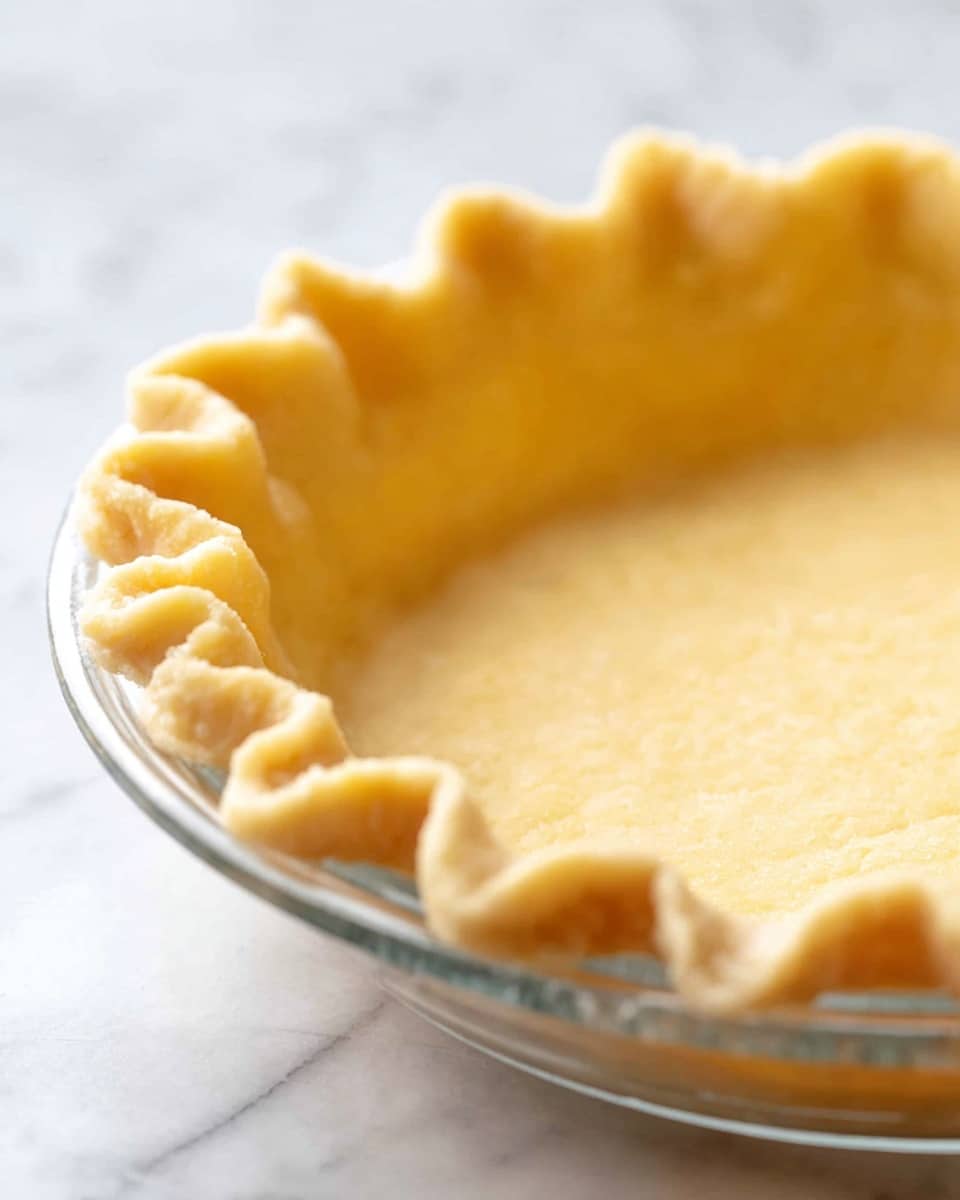
- Step 8: When ready to use, dust your work surface and rolling pin lightly with flour. Unwrap the dough, sprinkle the top with flour, and roll out into a round about 10cm (4″) larger than a 22.5cm (9″) pie tin.
- Step 9: Carefully roll the pastry around the rolling pin and unroll over the pie dish. Avoid stretching the dough to prevent shrinkage.
- Step 10: Trim edges according to your pie type: leave a 1cm (2/5″) overhang for pies without lids, or trim flush with the dish edge for pies with lids.
- Step 11: Tuck any excess pastry under if leaving an overhang. Crimp or decorate edges as desired.
- Step 12: Chill the shaped pie crust in the freezer for 15–30 minutes before baking. This firms up the butter and helps maintain flakiness and edge shape.
- Step 13: For pies that will be baked again after filling, blind bake the crust: preheat oven to 200°C (390°F) or 180°C (fan). Line the crust with parchment paper and fill with baking beads or dried beans.
- Step 14: Bake covered for 15 minutes. Remove the pie from the oven, take out the beads carefully, then bake uncovered for 5 minutes until the base is lightly golden.
- Step 15: Let the crust cool in the tin for 15 minutes before filling to prevent sogginess.
- Step 16: For fully baked crusts (if not baking again with filling), bake at 190°C (375°F) or 170°C (fan) with beads for 25 minutes, then uncovered for 15 minutes until golden. Cool completely before filling.
- Step 17: Fill the pie crust as desired and bake according to your pie filling recipe’s instructions.
Tips & Variations
- Use chilled butter and water for the flakiest crust.
- Skip sugar if making a savory pie to avoid sweetness.
- Blind bake to prevent soggy bottoms when using moist fillings.
- For easier handling, chill the dough thoroughly before rolling.
- Replace some or all of the flour with whole wheat for a nuttier flavor, but expect a denser crust.
Storage
Wrap any unused dough tightly in cling wrap and refrigerate for up to 2 days or freeze for up to 3 months. Thaw overnight in the refrigerator before use. Baked pie crusts can be stored covered at room temperature for 1–2 days or refrigerated for up to 5 days. Reheat briefly in a warm oven to restore crispness if needed.
How to Serve
Serve this delicious recipe with your favorite sides.
FAQs
Can I make this pie crust without a food processor?
Yes, you can use the hand method described in Step 5. Rub the cold butter into the dry ingredients with your fingertips until crumbly, then mix in the cold water with a rubber spatula.
Why should I chill the dough before rolling it out?
Chilling firms up the butter, which helps create a flaky texture when baked. It also relaxes the gluten in the flour, making the dough easier to roll without shrinking or tearing.
Print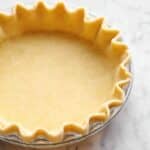
Homemade Classic Shortcrust Pie Crust Recipe
- Total Time: 1 hour 35 minutes (including chilling)
- Yield: One 22.5cm (9″) pie crust 1x
Description
A classic shortcrust pastry recipe perfect for sweet or savory pies. This flaky pie crust combines cold butter and ice water with flour to create a tender, buttery base that holds pie fillings beautifully. Suitable for blind baking or fully baking depending on your pie needs.
Ingredients
Dry Ingredients
- 1 1/4 cups plain / all-purpose flour
- 2 tsp white sugar (skip if making savoury pie)
- 1/2 tsp salt
Wet Ingredients
- 115g / 8 tbsp unsalted butter, cold, cut into 1cm / 1/3″ cubes
- 2 1/2 tbsp ice cold water (+ more as required)
Instructions
- Make Dough: Start by placing the flour, sugar, and salt into a food processor and pulse twice to combine everything evenly.
- Cut in Butter: Scatter the cold butter cubes evenly over the flour mixture. Pulse five times until the biggest pieces of butter are about the size of chickpeas, ensuring it’s well combined but still chunky.
- Add Water: With the food processor on low, slowly pour in 2.5 tablespoons of ice-cold water. Continue to pulse until the mixture forms crumbs that stick together when pinched, about 10 seconds.
- Alternate Hand Method: If not using a food processor, whisk the flour, sugar and salt in a large bowl. Rub the butter into the flour using your fingertips until it resembles coarse crumbs. Mix in the cold water with a rubber spatula and form a dough.
- Form Dough Disc: Tip the crumbly dough onto your work surface. Gather the crumbs into a dome shape but do not knead. Pat into a disc about 2cm (4/5″) thick.
- Chill Dough: Wrap the dough disc tightly in cling wrap and refrigerate for at least 1 hour, up to 2 days. For longer storage, freeze the dough.
- Roll Out Dough: Lightly flour your work surface and rolling pin. Unwrap the chilled dough and sprinkle flour on both sides. Roll out the dough into a circle approximately 10cm (4″) larger than your 22.5cm (9″) pie tin.
- Transfer and Shape: Gently roll the rolled-out pastry around your rolling pin and unroll it over the pie dish. Do not stretch or pull to avoid shrinkage. Press the pastry gently into the pie tin.
- Trim Edges: For pies without a lid (like pumpkin pie), trim pastry to leave a 1cm (2/5″) overhang. For pies with a lid (like meat pies), trim pastry flush with the edge of the tin. Tuck and crimp edges as desired.
- Chill Again: Place the prepared pie crust in the freezer for 15-30 minutes while preheating your oven. This firms the butter back up and helps prevent shrinkage and preserves the decorative edges.
- Blind Baking – Preheat Oven: Preheat your oven to 200°C (390°F) or 180°C fan.
- Blind Bake Setup: Line the pie crust with two large pieces of parchment paper placed crosswise. Fill the lined shell with baking beads, rice, or dried beans to weigh it down.
- Blind Bake Step 1: Bake the crust covered with the weights for 15 minutes. Then remove from the oven.
- Blind Bake Step 2: Carefully remove the hot weights and parchment paper, then bake uncovered for an additional 5 minutes or until the base is lightly golden. Cool for 15 minutes in the pie tin before filling.
- Fully Baked Option: For a fully baked crust, follow the blind baking steps but bake at 190°C (375°F) or 170°C fan, covered for 25 minutes, then uncovered for 15 minutes until golden. Let cool completely before filling.
- Fill and Bake: Add your chosen pie filling such as pumpkin, pecan, or meat. The par-baked crust will finish cooking as the pie bakes with the filling, preventing soggy bases and ensuring a flaky crust.
Notes
- Use cold butter to achieve a flaky texture in the pastry.
- The sugar can be omitted for savory pies to avoid unwanted sweetness.
- For a smoother dough, add more ice cold water one teaspoon at a time as needed.
- Blind baking is recommended when the pie filling requires less baking time or no baking at all.
- Wrapping and chilling the dough multiple times helps improve texture and ease of handling.
- Using baking beads or dried beans when blind baking prevents the crust from puffing up or shrinking.
- Prep Time: 15 minutes
- Cook Time: 20 minutes (blind baking) to 40 minutes (fully baked option)
- Category: Dessert/Pastry
- Method: Baking
- Cuisine: Western
Keywords: pie crust, shortcrust pastry, blind baking, flaky pastry, pie dough, homemade pie crust, sweet or savory pie


