Mini Pumpkin Pies Recipe
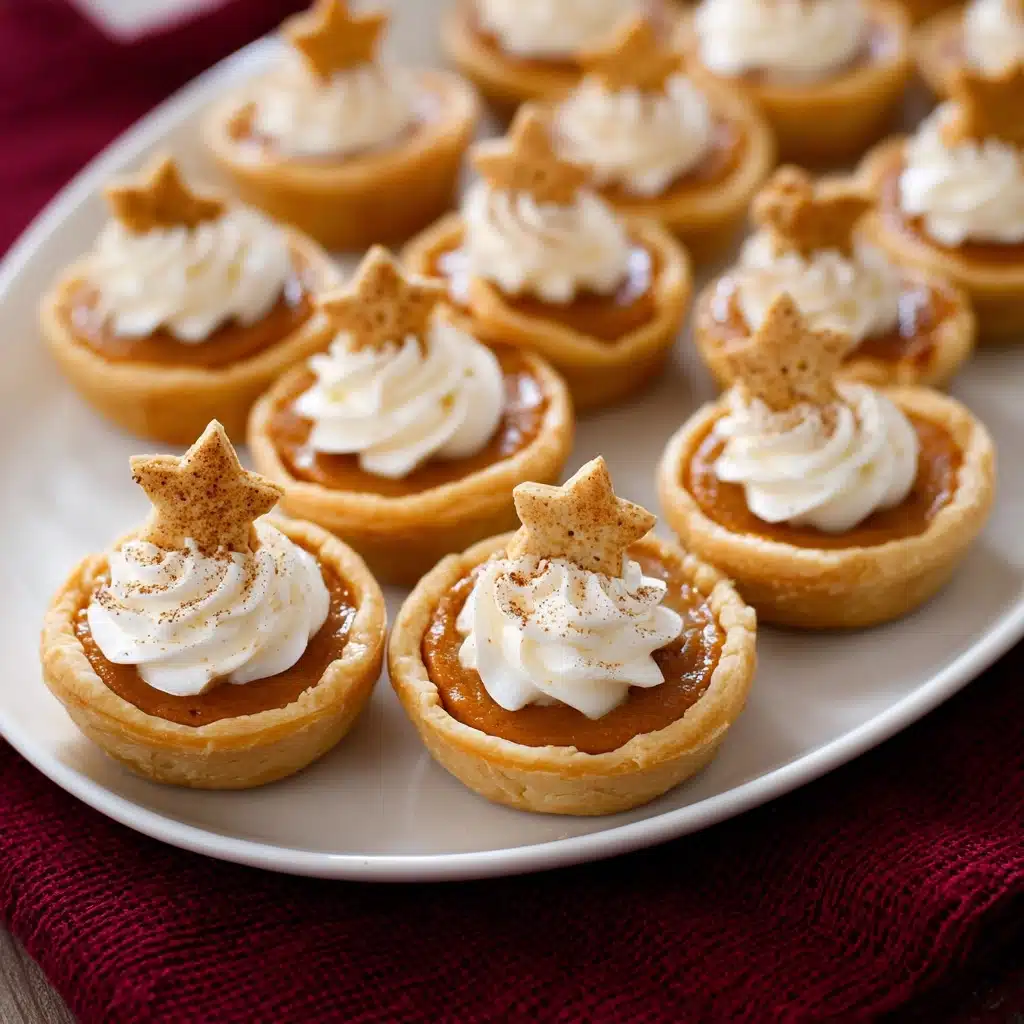
If you’ve ever dreamed of all the flavor and nostalgia of classic pumpkin pie in a cute, portable, and utterly irresistible form, these Mini Pumpkin Pies were absolutely made for you! Bite-sized but bursting with autumn spice, each tiny pie comes wrapped in a perfectly golden crust and topped with a swirl of whipped cream. They’re a hit at gatherings, game days, parties, or as a cozy after-dinner treat. These adorable desserts deliver all the satisfaction of the original — but in perfectly portioned handheld form — and are so simple, you’ll want to bake them all season long.
Ingredients You’ll Need
Let’s talk about the essentials! This recipe keeps it easy and stress-free with pantry staples and a couple of shortcuts, but every ingredient brings something special, whether it’s creamy richness, comforting spice, or that signature golden crust.
- Refrigerated pie crusts (14 oz): Store-bought crusts save time and roll out beautifully for even, flaky mini pies.
- Pumpkin puree (15 oz can): Make sure it’s pure canned pumpkin, not pumpkin pie filling — this gives your pies pure flavor and velvety texture.
- Sweetened condensed milk (14 oz can): For built-in sweetness and creaminess that creates the custardy filling we all love.
- Large eggs (2): These help set the filling so your pies hold their adorable shape.
- Ground cinnamon (1 1/4 tsp): The backbone of that cozy pumpkin spice aroma.
- Ground nutmeg (1/2 tsp): A pinch adds warmth and depth.
- Ground ginger (1/4 tsp): Subtle spice brightens the whole filling.
- Ground cloves (1/8 tsp): A small amount goes a long way for that unmistakable autumn flavor.
- Salt (1/4 tsp): Brings all of the spices and sweetness into balance.
- Sweetened whipped cream (for serving): Optional, but highly recommended for topping each pie with a cloud of creamy delight.
How to Make Mini Pumpkin Pies
Step 1: Prep the Oven and Pans
Start by moving your oven rack to the lower third of the oven — that little trick helps the crusts get gorgeously golden all over. Preheat to 375 degrees and spray 20 wells of standard cupcake pans with a good coating of non-stick cooking spray. Dark cupcake pans work extra well to deepen the pie crust color, but any sturdy pan will do!
Step 2: Make the Pumpkin Pie Filling
In a mixing bowl, whisk together the pumpkin, sweetened condensed milk, eggs, cinnamon, nutmeg, ginger, cloves, and salt. Mix until it’s all smooth and you see no streaks of egg or spice. A quick tap of the bowl on the counter can pop any big air bubbles so your filling bakes up silky and even.
Step 3: Roll and Cut the Pie Crusts
Unroll each pie crust and give them a gentle roll with your pin until they’re about 12 inches around and slightly thinner. Use a 3 1/2-inch round cutter (or even a glass) to cut circles from the dough. Press each one gently into a well of the prepared muffin pans, making sure to get into the corners and up the sides for a snug fit.
Step 4: Use the Scraps Creatively
Gather all your dough scraps, re-roll, and repeat the cutting until you have 20 circles. If you want to go all out, cut little leaf or star shapes from any extra dough. Give them a quick spray and sprinkle of cinnamon sugar, then arrange them between the pies on top of the pan for an adorable, bakery-style finish.
Step 5: Fill the Pie Shells
Pour or spoon the pumpkin pie filling evenly into each of the mini crusts. Fill them nearly to the top — just enough that the filling doesn’t spill over as it sets in the oven. The anticipation really starts to build here!
Step 6: Bake Until Set
Slide the pans onto the lower oven rack and bake for 18 to 22 minutes. The filling should be set even in the center and the crust will look crisp and lightly golden. Your kitchen will smell like the holidays are here!
Step 7: Cool and Remove
Let the pies cool in the pan for about 20 minutes, then carefully work an offset spatula around each to pop them out. Let them finish cooling completely on a wire rack so the filling firms up beautifully and they’re easy to handle.
Step 8: Top and Serve
Dollop or pipe each pie with sweetened whipped cream and, if you made those pie crust decorations, crown each mini masterpiece before serving. Chill any leftovers in the fridge and prepare for compliments!
How to Serve Mini Pumpkin Pies
Garnishes
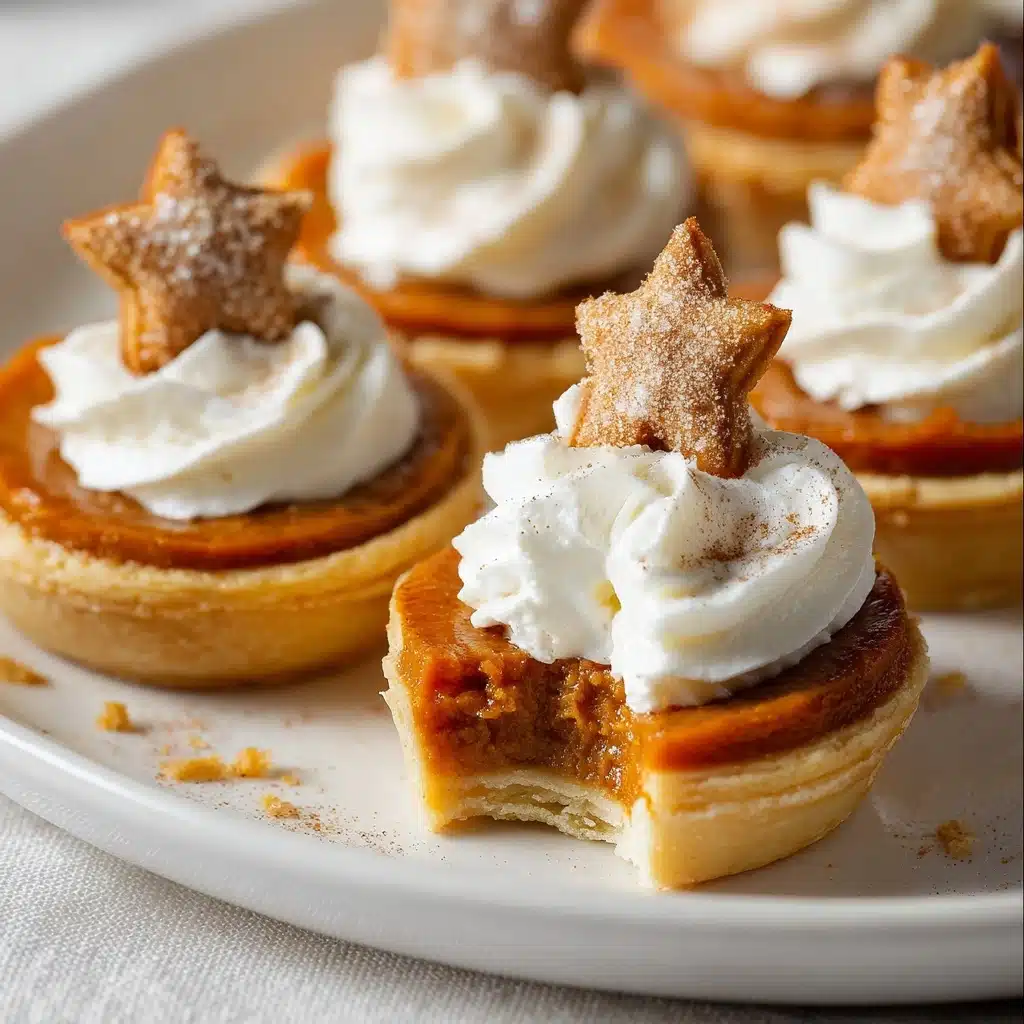
A swirl of sweetened whipped cream is classic, but don’t stop there! Dust your Mini Pumpkin Pies with a pinch of extra cinnamon, or top with a sparkly sprinkle of cinnamon sugar. If you made those pie crust shapes, gently perch them on the cream for an extra dose of charm.
Side Dishes
These charming pies pair so well with a cup of hot apple cider, spiced coffee, or a scoop of vanilla ice cream. For a festive dessert spread, serve alongside chocolate truffles, crisp cookies, or a platter of fresh fruit to balance the richness.
Creative Ways to Present
Pile your Mini Pumpkin Pies on a tiered cake stand, arrange them in a wreath shape on a wide platter, or tuck each one into a mini cupcake wrapper for grab-and-go snacking at parties. For a special touch, set up a “mini pie” bar with toppings like caramel drizzle, candied ginger, or different flavored whipped creams!
Make Ahead and Storage
Storing Leftovers
Once cooled, cover your Mini Pumpkin Pies and store them in the fridge for up to 4 days. Their flavor actually deepens after a day or two, so don’t hesitate to make them ahead for maximum pumpkin pie bliss with minimal day-of stress.
Freezing
These mini pies freeze surprisingly well! Place them in a single layer in an airtight container, or wrap individually in plastic wrap and pop them in a freezer bag. They’ll keep for up to two months. Thaw overnight in the fridge before serving for the freshest flavor and texture.
Reheating
To bring back that “just baked” warmth, heat Mini Pumpkin Pies in a 300 degree oven for 8 to 10 minutes or just until gently warmed through. If you’re short on time, a quick zap in the microwave (without any whipped cream or toppings) works too.
FAQs
Can I make these Mini Pumpkin Pies gluten free?
Absolutely! Simply substitute your favorite gluten-free pie crust for the refrigerated dough. Make sure to follow any instructions on the packaging for best results, and check that all your other ingredients are gluten free.
Do I need to blind bake the mini pie crusts first?
No blind baking needed here! The small size and the hot oven ensure that the bottom crust bakes through and gets golden without any extra steps.
Can I use homemade pumpkin puree instead of canned?
Yes! Just be sure to strain homemade pumpkin puree really well so it isn’t watery. Too much moisture can make your filling runny and affect the setting time.
How do I know when the pies are done baking?
The filling should be fully set even in the center, and the crust will look golden. Gently shake the pan — if the filling barely jiggles in the center, they’re ready! Overbaking can cause the filling to crack, so keep a close eye near the end.
Can Mini Pumpkin Pies be made dairy free?
Certainly! Try using a dairy-free condensed milk alternative and make sure your pie crust is dairy free as well. Coconut whipped cream or another plant-based topping is just as delicious for serving.
Final Thoughts
If you love pumpkin pie, you haven’t truly lived until you’ve tried these charming Mini Pumpkin Pies. They’re festive, fun to make, and have a way of disappearing instantly at any gathering. Start a new fall tradition and bake up a batch soon — your friends and family will thank you!
Print
Mini Pumpkin Pies Recipe
- Total Time: 40 minutes
- Yield: 20 mini pies 1x
- Diet: Vegetarian
Description
These adorable Mini Pumpkin Pies are perfect for holiday gatherings or anytime you want a delicious individual dessert. With a buttery crust and a spiced pumpkin filling, these mini pies are sure to be a hit!
Ingredients
Pie Crust:
- 2 refrigerated prepared pie crusts (14 oz), (store-bought)
Pumpkin Filling:
- 1 (15 oz) can pumpkin ((not pie filling))
- 1 (14 oz) can sweetened condensed milk
- 2 large eggs
- 1 1/4 tsp ground cinnamon
- 1/2 tsp ground nutmeg
- 1/4 tsp ground ginger
- 1/8 tsp ground cloves
- 1/4 tsp salt
Optional Toppings:
- Sweetened whipped cream, for serving (optional)
Instructions
- Preheat and Prepare: Adjust oven rack to lower 1/3 of the oven. Preheat oven to 375 degrees. Spray 20 wells of cupcake pans with non-stick cooking spray.
- Mix Pumpkin Filling: In a mixing bowl, whisk together pumpkin, sweetened condensed milk, eggs, cinnamon, nutmeg, ginger, cloves, and salt until well combined. Remove air bubbles by tapping the bowl on the counter.
- Prepare Crusts: Roll out pie crusts and cut into rounds. Press rounds into prepared muffin pans.
- Add Filling: Divide pumpkin pie filling among crusts.
- Bake: Bake in the preheated oven for 18-22 minutes until set.
- Cool and Serve: Cool in the pan, then transfer to a wire rack to cool completely. Top with whipped cream and decorations if desired.
Notes
- For a festive touch, consider adding mini leaf or star-shaped pie crust decorations on top of the mini pies.
- Store leftover pies in the refrigerator.
- Prep Time: 20 minutes
- Cook Time: 20 minutes
- Category: Dessert
- Method: Baking
- Cuisine: American
Nutrition
- Serving Size: 1 mini pie
- Calories: 240
- Sugar: 15g
- Sodium: 180mg
- Fat: 10g
- Saturated Fat: 4g
- Unsaturated Fat: 4g
- Trans Fat: 0g
- Carbohydrates: 35g
- Fiber: 1g
- Protein: 4g
- Cholesterol: 35mg
Keywords: Mini Pumpkin Pies, Individual Pumpkin Pies, Holiday Desserts, Pumpkin Pie Recipe

