
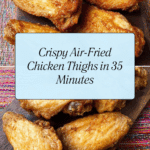
Crispy Air-Fried Chicken Thighs with Seasoning Recipe
Introduction
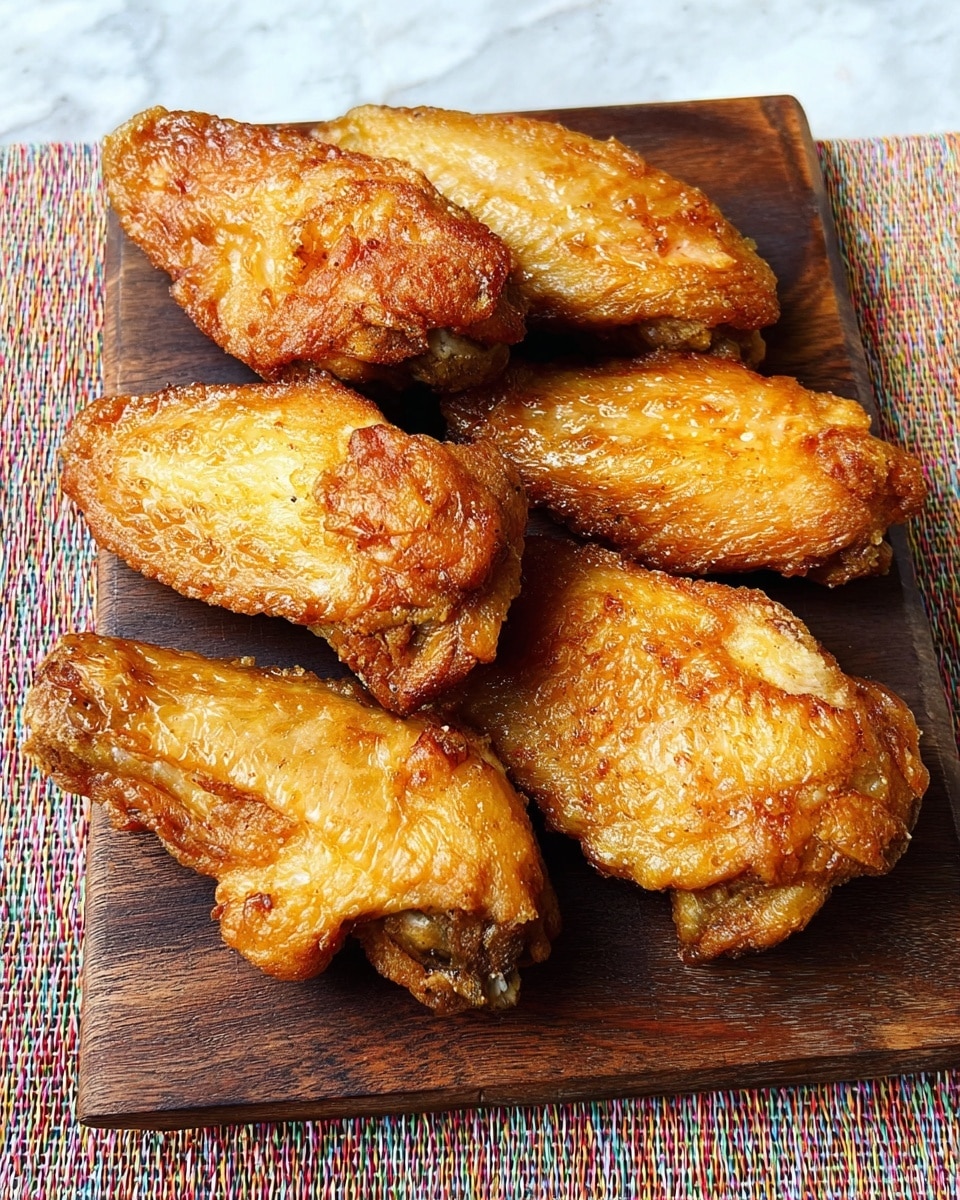
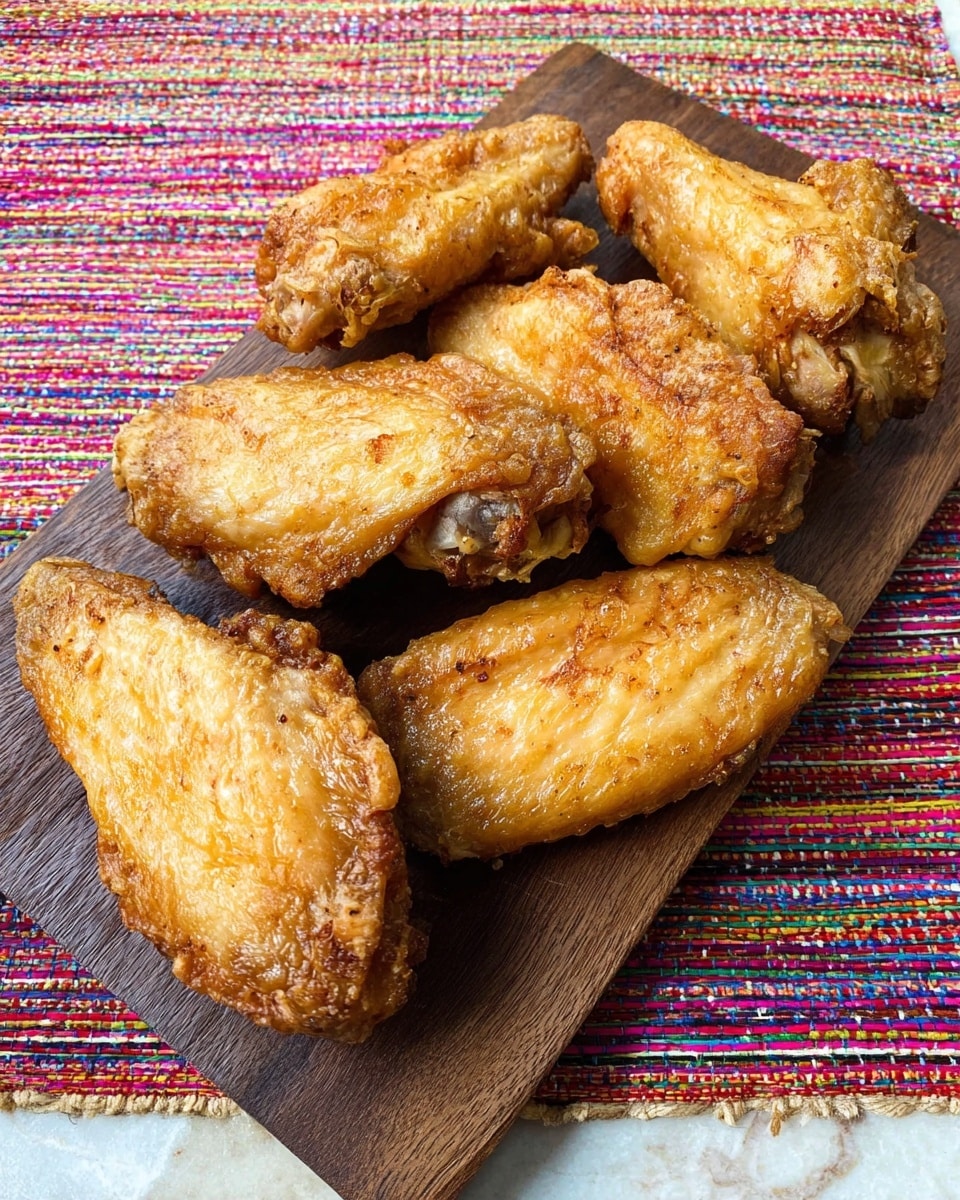
Air-fried chicken thighs are a quick and delicious way to enjoy crispy, juicy chicken with minimal effort. Using a light coating of seasoned flour and a hot air fryer, you get beautifully crisp skin without deep frying. This simple method is perfect for a satisfying weeknight dinner.
Ingredients
- 4 large or 8 small chicken thighs, skin on
- 1 tbsp sunflower or olive oil
- 1 tbsp plain flour
- Seasoning of choice: salt and pepper, or ½–1 tsp smoky BBQ, ras-el-hanout, garlic granules, celery salt, or garam masala
Instructions
- Step 1: Toss the chicken thighs in the oil, ensuring each piece is well coated.
- Step 2: Mix the plain flour with your chosen seasoning and toss the chicken thighs in this mixture. The coating will be light; double the flour and seasoning if you prefer thicker coverage.
- Step 3: Arrange the chicken thighs in a single layer on the tray of your air fryer, without a paddle.
- Step 4: Cook the chicken for 35 minutes in the air fryer. Check doneness by pulling the flesh from the underside of a thigh—if it comes away easily with no pink, they are done; if not, cook for another 5–10 minutes.
- Step 5: The skin should be crisp and bubbled. Remove the chicken promptly to prevent steam from softening the skin again. Discard any excess fat collected in the fryer base.
Tips & Variations
- For extra crispy skin, pat the chicken dry before tossing in oil.
- Try different seasoning blends like smoked paprika or lemon pepper for varied flavors.
- If using smaller chicken pieces, reduce cooking time slightly and check earlier to avoid drying out.
Storage
Store cooked air-fried chicken in an airtight container in the refrigerator for up to 3 days. To reheat, place the chicken back in the air fryer for 3–5 minutes to crisp the skin without drying the meat. Avoid microwaving to keep the texture crisp.
How to Serve
Serve this delicious recipe with your favorite sides.
FAQs
Can I use boneless chicken thighs for this recipe?
Yes, boneless thighs can be used but will cook faster, so reduce the cooking time and check for doneness earlier to avoid overcooking.
Do I need to preheat the air fryer before cooking?
Preheating is optional but can help the chicken skin crisp up faster. If you choose to preheat, 3–5 minutes at the cooking temperature is sufficient.
Print
Crispy Air-Fried Chicken Thighs with Seasoning Recipe
- Total Time: 50 minutes
- Yield: Serves 4
Description
Crispy and flavorful air-fried chicken thighs cooked to perfection with a light seasoned flour coating, delivering tender, juicy meat and irresistibly crisp skin without the need for deep frying.
Ingredients
Chicken
- 4 large or 8 small chicken thighs, skin on
Coating
- 1 tbsp sunflower or olive oil
- 1 tbsp plain flour
- Seasoning of choice (salt and pepper, or ½-1 tsp of smoky BBQ, ras-el-hanout, garlic granules, celery salt, or garam masala)
Instructions
- Coat the Chicken: Toss the chicken thighs in the sunflower or olive oil, ensuring each piece is evenly and thoroughly coated to help the flour and seasoning stick.
- Prepare the Flour Mixture: Mix the plain flour with your chosen seasoning until well combined, creating a light yet flavorful coating.
- Apply the Coating: Toss the oiled chicken thighs in the flour and seasoning mixture. Aim for a very light coating, though you may double the flour and seasoning if you prefer a thicker crust.
- Arrange in Air Fryer: Lay the coated chicken thighs in a single layer on the tray of an air fryer, making sure not to crowd them to allow for even cooking and crisping.
- Cook the Chicken: Set the air fryer to cook for 35 minutes. After this time, check doneness by pulling the flesh away from the bone on the underside of one thigh—it should come away easily with no pink remaining.
- Finish Cooking if Needed: If the chicken is not fully cooked, continue cooking for an additional 5-10 minutes until done, ensuring the skin has bubbled and crisped to a golden finish.
- Rest and Serve: Remove the chicken immediately after cooking to prevent steam from softening the crispy skin. Discard any excess fat collected at the base of the air fryer tray.
Notes
- You can vary the seasoning according to your preference to personalize the flavor.
- Ensure the chicken thighs are skin-on for the best crispiness.
- Do not overcrowd the air fryer tray to maintain proper air circulation and even cooking.
- Check the internal temperature reaches at least 165°F (74°C) for safe consumption.
- Discard any fat collected after cooking to avoid greasy residue.
- Prep Time: 10 minutes
- Cook Time: 40 minutes
- Category: Main Dish
- Method: Air Frying
- Cuisine: International
Keywords: air-fried chicken, crispy chicken thighs, easy chicken recipe, healthy fried chicken, air fryer chicken


